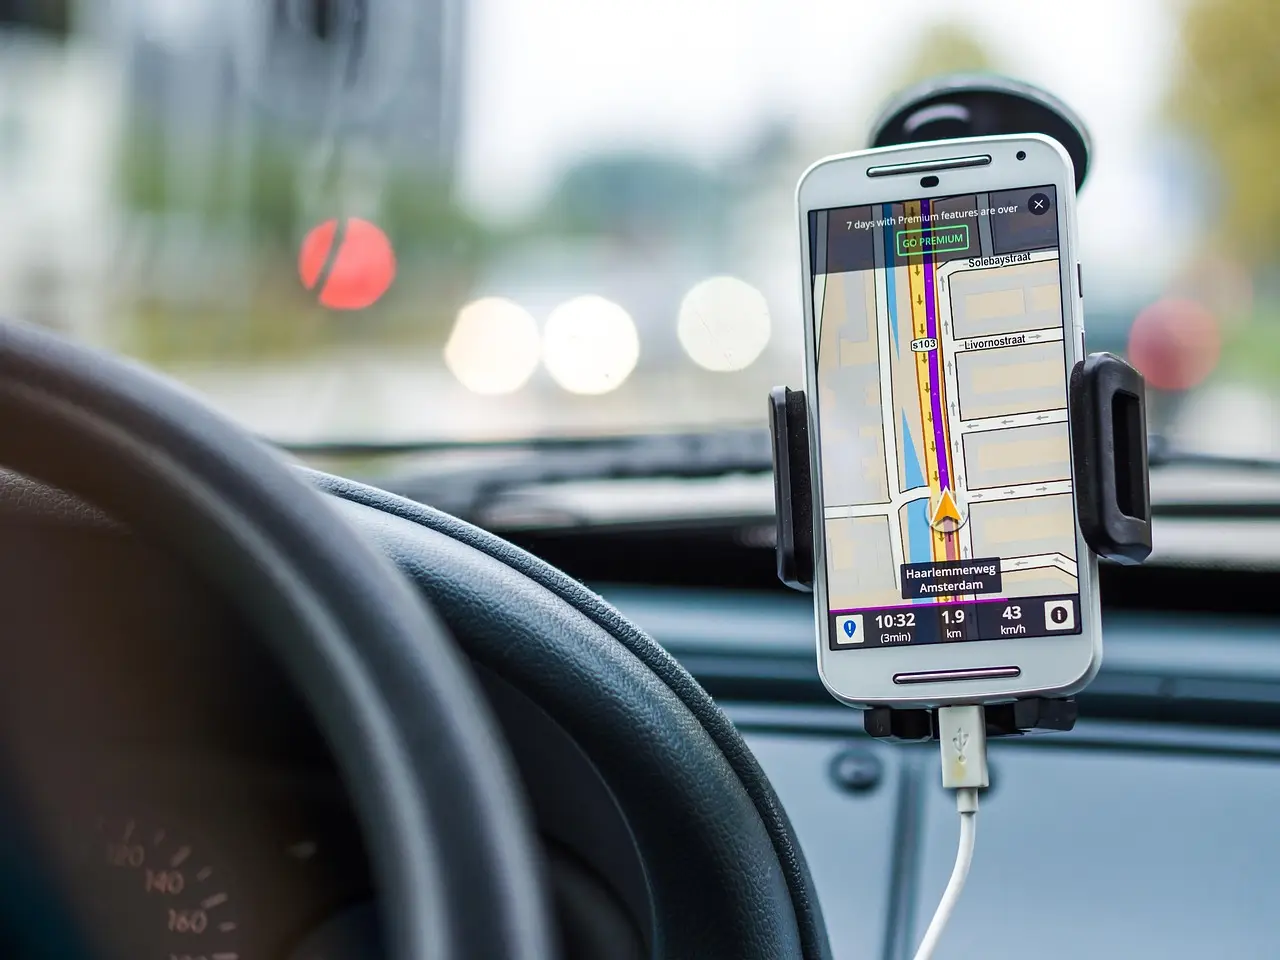
Learn to activate a travel eSIM on Android phones using a QR code. Covers Pixel, Samsung Galaxy, and other models, setting data preference, and avoiding roaming charges.
Updated 2026-09-13
3 steps · about 2 minutes on Wi‑Fi
Good to know
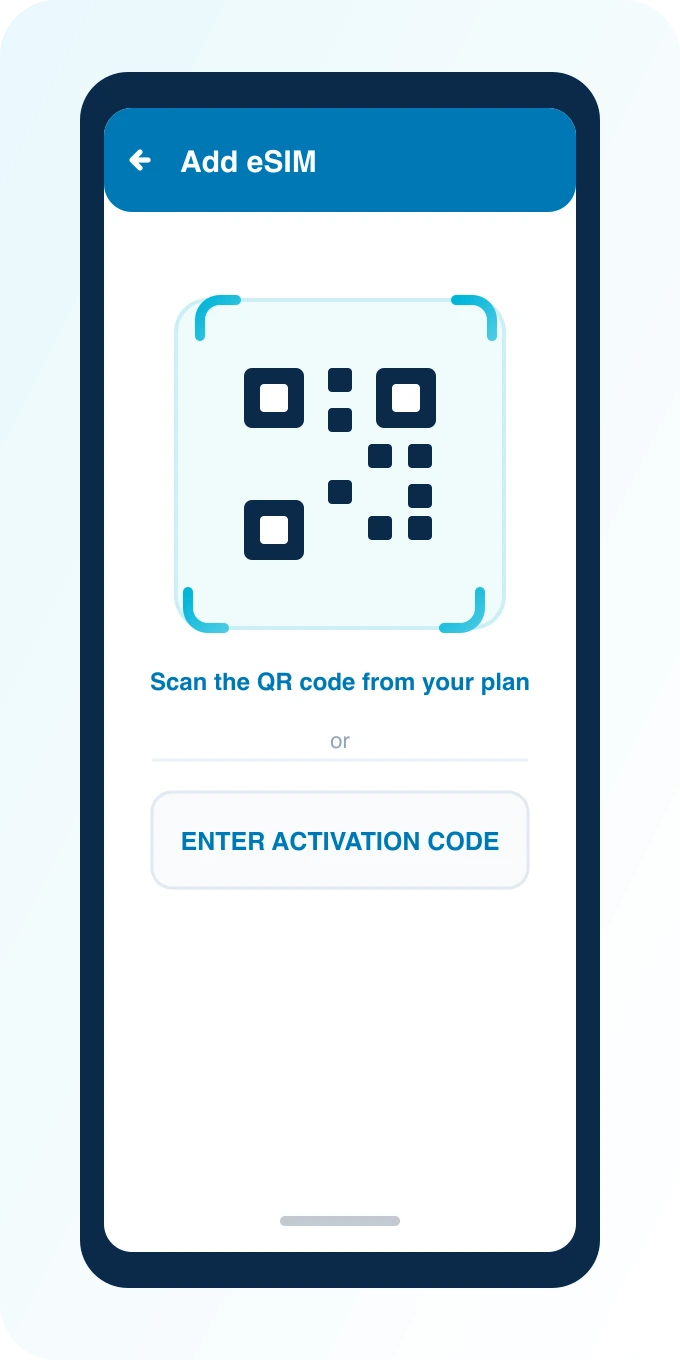
Settings → Network & internet → SIMs (Pixel) or Connections → SIM manager (Samsung) → Add eSIM → Scan QR code.
No QR handy? Use Enter Activation Code below.
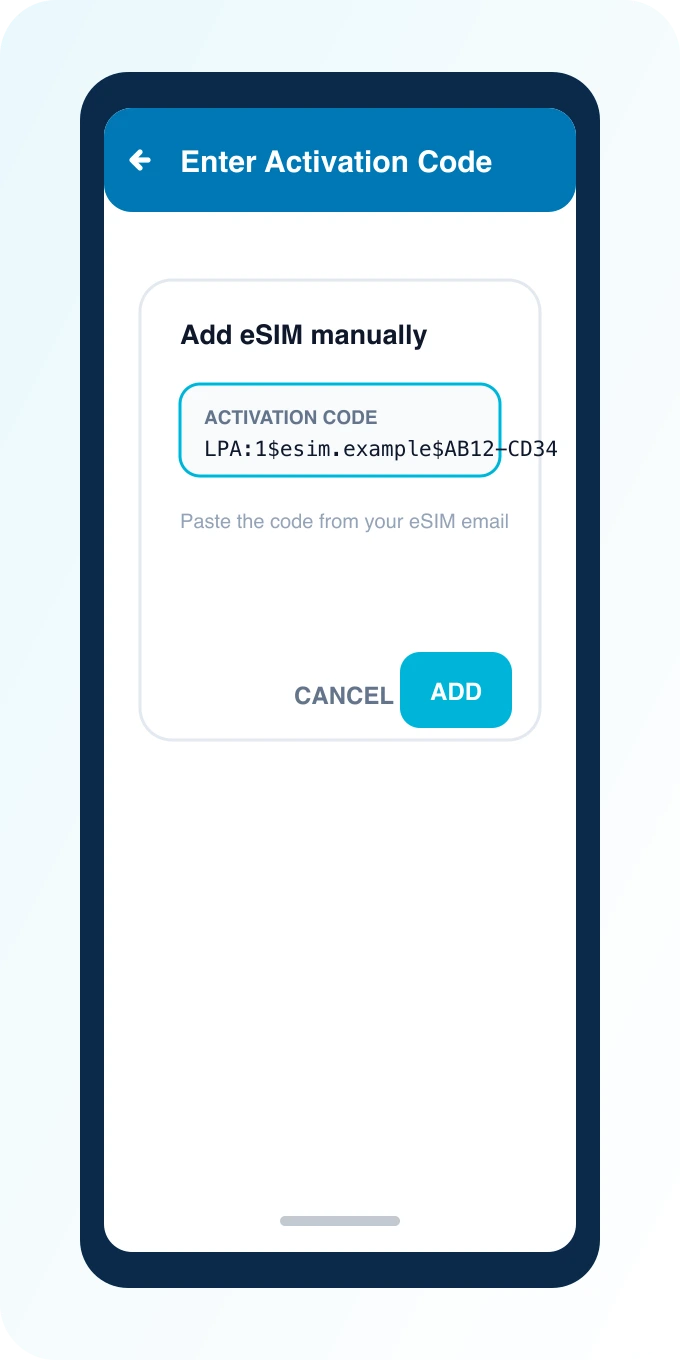
Tap Enter Activation Code and paste the code from your dashboard.
The code is on the same email as your QR, in the LPA:1$… format.
Confirm the download, name the plan, then switch the eSIM on.
Keep your physical SIM enabled for calls and SMS.
Installing a travel eSIM on Android means adding a mobile plan via QR code under Settings → Network & internet → SIMs (Pixel) or Connections → SIM manager (Samsung), then setting the eSIM as the preferred data line. Menus vary by OEM and Android version, but the QR from PingRoam is the same. Install on Wi‑Fi before you travel when possible, and keep a backup of your QR code in case you need to re‑scan later.
Confirm first: eSIM compatibility check. Purchases are web‑only; the app does not sell plans.
If the QR fails, use Enter activation code with the SM‑DP+ and code from your dashboard; the fields are located under the same Add eSIM menu.
iPhone users: How to install an eSIM on iPhone. Dual line habits: Dual SIM travel tips.
When using Dual SIM on Android, you can assign specific apps to each line via Settings → Network & internet → SIMs → App data preferences (available on some OEM skins). This lets you route navigation, streaming, or banking apps through the eSIM while keeping messaging apps on your home number. Remember that incoming calls on the physical SIM will still ring; you can silence them if you prefer to be reachable only via data‑based apps like WhatsApp or Signal.
| Problem | Fix |
|---|---|
| Add eSIM greyed out | The device may lack eSIM hardware, or the carrier/firmware profile has disabled it. Verify the exact model number against the manufacturer’s eSIM list and confirm that the phone is carrier‑unlocked. |
| Download failed | Ensure you are connected to a reliable Wi‑Fi network; avoid public hotspots with captive portals that can interrupt the HTTPS request. Refresh the QR code from the dashboard and try again. |
| No data after landing | Open Settings → Network & internet → SIMs → Preferred network type and confirm the travel eSIM is selected for mobile data. Toggle Airplane Mode on/off to force a network re‑attach. |
| Wrong network displayed | Check that the eSIM profile matches the region you purchased; some plans are country‑specific. If you crossed a border, you may need to purchase a new eSIM for the new destination or enable roaming if the plan allows it. |
| Persistent “No service” | Restart the device, then re‑enter the activation code manually (SM‑DP+ and activation code) to rule out a corrupted QR scan. |
| Battery drain noticed | Some devices keep both SIMs active for standby; disable the physical SIM’s data radio if you only need data on the eSIM, and adjust location‑services accuracy to “Battery saving”. |
The model may lack the required eSIM chipset, or the specific SKU sold in your region has the feature disabled by the carrier. Look up the exact model number (found in Settings → About phone) and consult the vendor’s official eSIM support page. If the phone is carrier‑locked, request an unlock or use a different device that explicitly lists eSIM capability.
Generally, an eSIM profile is bound to a single device after the first successful download; attempting to scan the same QR on a second phone will result in an error stating the profile is already in use. If you change phones, contact PingRoam support with your order details to request a re‑issue of the QR code for the new device.
No. Keeping the physical SIM allows you to receive calls and SMS on your home number, which is useful for two‑factor authentication, banking alerts, and staying reachable by contacts who do not use internet‑based apps. Data traffic can be confined to the eSIM while the physical SIM handles voice and text.
The core steps—scanning a QR code, downloading the profile, and setting it as the preferred data line—are identical across Android OEMs. However, menu labels differ: Xiaomi may use Settings → SIM cards & mobile networks → Add mobile plan; Oppo often places it under Settings → Dual SIM & cellular → Add eSIM; OnePlus typically hides it under Settings → Wi‑Fi & network → SIM & network → Download SIM instead. Searching the Settings app for “eSIM” or “Add mobile plan” usually surfaces the correct entry.
Explore the full library: what is an eSIM, esim not working fix, and how much eSIM data do I need. Additional articles cover topics like switching between eSIM profiles, monitoring data usage, and troubleshooting carrier‑specific alerts.
Stay connected – grab a PingRoam eSIM for your next trip to Japan, the USA, Europe, the UK or Germany and install it before you leave: Destinations.
Worth booking – skip the line at top attractions like the Louvre in Paris, the Colosseum in Rome, Sagrada Família in Barcelona, or the museums of London and link your plans to tickets: Tickets.
